Setting Up a Text Message Number
Leap is flexible so you can set up text messages to use a standard toll-free number that's dedicated to only your practice, or you can use your own office's phone number for texting. No matter which option you choose, you'll need to select a toll-free number to start. Click Step 1 below to begin your Text Message Number setup.
Important
🍁 Canadian practices: Your text message number needs to be set up a little differently. When you're ready to set up a text message number, please contact Yapi Support  instead.
Important
Only users with Admin privileges can perform this task.
All Leap users need to start by selecting a toll-free Text Message Number. Use the instructions below to get set up.
Click Settings from the menu on the left and select Practice Settings.
Select Practice Information.
Review all the information on the General Info tab to make sure there are no typos and all of your practice's information is accurate.
Click Set Up Text Message Number.
In the Text Message Number Setup window, pick the prefix you'd like for your toll-free number.
Click Generate Numbers.
Under Text Message Number, use the drop down arrow to pick a toll-free number.
Click Save. Your status will change to Verified once your business information has been reviewed and verified. Then, Yapi will start using this toll-free number when you send text messages, reminder texts, and review requests through Leap.
Whether you decide to keep the toll-free number you just set up or move on to setting up your own number with Text From Office Number will depend on your practice's specific needs. Keep reading to learn about the benefits of each and then make a decision.
Caution
If your office is using Verizon, AT&T, T-Mobile, or Google for your office number, you won't be able to use Text from Office Number. Phone numbers from these carriers aren't supported.
What's the Text from Office Number feature?
Text from Office Number allows you to use your practice's existing phone number for texting in Leap by having Yapi "host" the number. "Hosting" simply means we register your number for texting through Leap; it doesn’t affect the number in any distinguishable way and patients will still be able to call you as they do today.
Benefits of a Toll-Free Number
Setup is fast!
Pick from a list of available toll-free numbers.
No additional information is needed, we use the information you've already added to the Practice Information page. 😁
Great option for offices that have limited staff members and are too busy to move forward with the Text from Office Number process.
Benefits of Text from Office Number
Once you complete the Text from Office Number setup, Yapi "hosts" your practice's number by registering it for texting in Leap. And having your number hosted can be great for patients and for you: you use your existing office phone number so phone calls, texts, and automated messages all come from the same one. That means patients can save a single number for your practice and easily recognize you.
You're able to pick the phone number you want to use (as long as it's within the parameters mentioned below).
Better patient experience. Patients can save one number to their contacts and they can call or text that number. 🪄
Important things to be aware of when choosing Text from Office Number (also known as a "hosted" number):
Yapi only uses the hosted number for texting. You can have a different hosted number for each texting and voice calls
Practice Numbers can only be hosted by one service provider at a time so:
If you decide to use your practice number for texting and it’s currently hosted by another provider, they'll be contacted to release your number first.
If you currently use a VoIP provider for both voice calls and texting, and opt to have Yapi host your number for texting, you’ll still be able to use the VoIP provider for voice calls.
Not all numbers qualify for the Text from Office Number feature. For example, you can't use a mobile number. If we can't set up your number for another reason, we'll let you know.
Once you provide us with the information we need the process of setting up your number takes about 1-2 weeks.
Once you set up Text from Office Number, you'll no longer be able to receive texts to the toll-free number you started with and any new text messages sent to that number won't appear in Leap.
Now that you've reviewed all the information above, if keeping the toll-free number is right for your office, you're done! ✅
If you prefer to move forward with our Text from Office Number feature, proceed to Step 3: Setting Up Your Own Office Number for Texting (Optional).
If you want to use our Text from Office Number option, we just need a bit of information from you, which you can submit right in Yapi Leap. Just use the instructions below to start the process; once you submit your information, it should take about 1-2 weeks to register your number.
Warning
You must set up a toll-free number first before migrating to Text from Office Number. And if you're not sure if a Text from Office Number is right for you, refer to Step 2: Deciding if You Want to Keep the Toll-Free Number or Use Text from Office Number (Required).
Click Settings from the menu on the left and select Practice Settings.
Select Practice Information.
Click the Text from Office Number button next to the Text Message Number field.
Follow the prompts and be prepared to provide the following information:
The phone number you want to host
Your practice's legal business name
What type of business your practice is
Your practice's EIN
Your practice's website address
The physical address of your practice
Some information about yourself, including your first and last name, your role at the practice, email address, and best phone number to contact you if we have any questions
Tip
Don't know what your practice's legal business name or EIN is? You can usually find this on your IRS letters CP 575 or 147C. When in doubt, ask the practice owner. 😁
Next, you'll receive an email with a Letter of Authorization request:
Regularly check your email for a message from noreply@mail.hellosign.com that includes a Letter of Authorization request. (The subject line will be something similar to "Hosted SMS Letter of Authorization (LOA) – signature requested by Twilio Onboarding Team"):
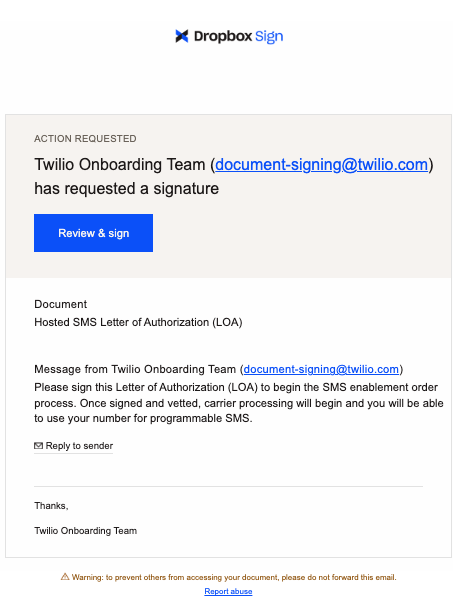
Example of the Email You'll Receive
Review and sign the Letter of Authorization attached in the email:
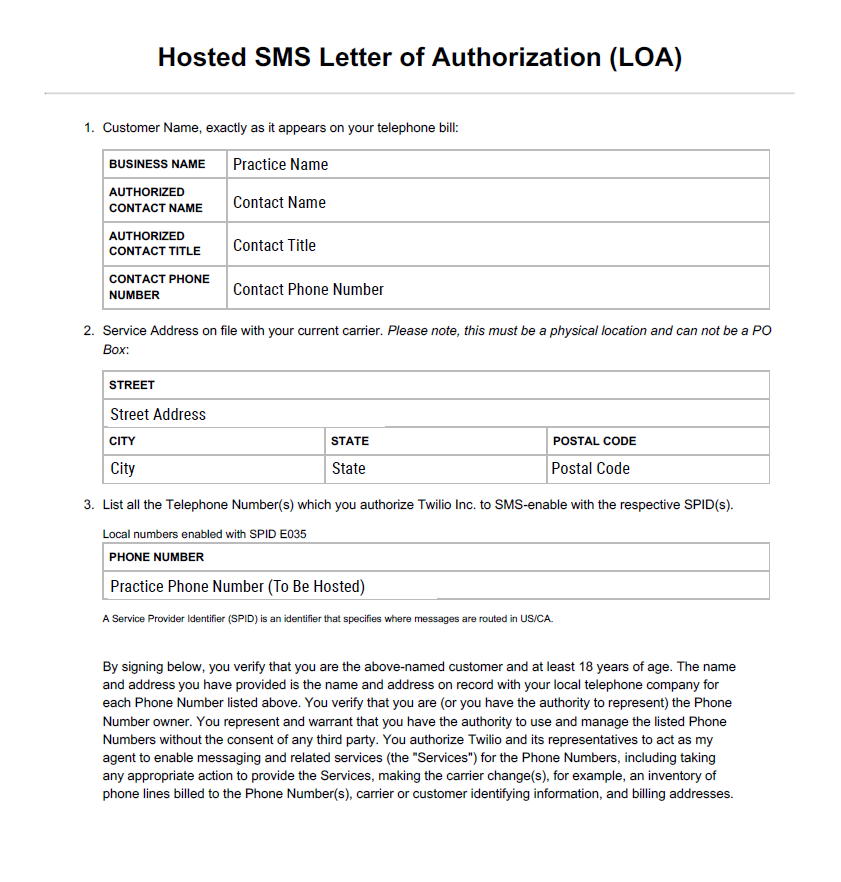
Example of Letter of Authorization You'll Need to Complete
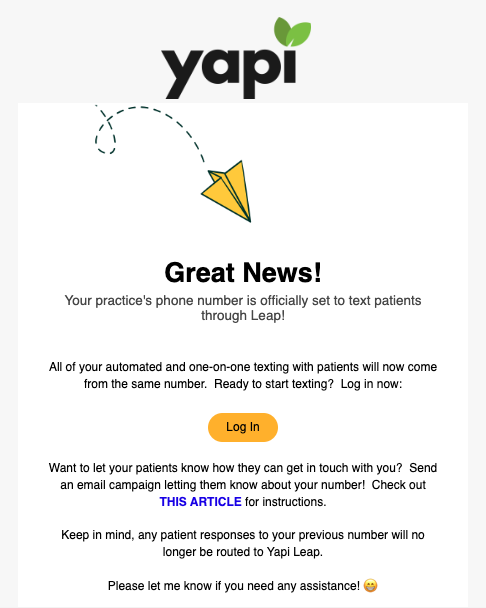
Keep an eye out for communication from us. We'll let you know when your number is ready to use by sending you the email below. Then you can start using your own number for texting! 🎉:
Note
If the messaging carrier runs into any problems verifying your information (this isn't common), we may send you a second Letter of Authorization to sign or ask you to provide additional documentation like IRS Form CP-575 so we can confirm your business name and EIN. If we do, we'll follow up with you and let you know where to get it.

Example of IRS Form CP-575
Once you've completed the process of setting up your number, you can use Leap to keep your patients in the loop! We recommend using a Campaign in Leap to reach all your patients via email:
Tip
Want to make sure patients with upcoming appointments get the message? You can also create a text template to send them a mass text.
Make sure all your contact information is up to date on the Practice Information page:
In Leap, click Settings, Practice Settings, and select Practice Information.
Review your practice's and make any needed changes.
Click Save.
Select Campaigns from the menu on the left.
Under Create a New Campaign, find the Practice Contact Information template.
Enter a Campaign Name and Subject.
Optional: Scroll down to the Add a custom note to the body of the email box and enter a custom message letting patients know they shouldn't message you at your previous number.
Tip
Don't know what to say? Try this: "Please note: We no longer receive texts to our previous number. We recommend you update this contact information in your phone so you know we'll always get your message."
Click Next.
Under Select Patients List, select Active. This will send the email to all active patients. Then click Next.
Click Send Now.
Click Start Campaign. A message with then display at the bottom of the screen letting you know the campaign was sent. You'll also be directed back to the Campaigns page, where you'll see it listed under Your Campaigns.
Tip
Need more detailed instructions for sending email campaigns? Check out Creating a Campaign.