Migrating from a Standard Text Message Number to Your Own Office Number
If you've already set up a standard toll-free Text Message Number in Leap but would like to use your office's number for texting, follow the steps below.
Important
You must have a verified Text Message Number set up in Leap before starting the process to use Leap's Text from Office Number feature. Not sure if you're set up or verified? Check the Text Message Number on your Practice Information page in Leap. If you see a Set Up Text Message Number button, go directly to Setting Up a Text Message Number to start your setup. If you see "Verification Pending," wait for your number to be verified before proceeding. If you see "Verification Failed," contact Yapi Support.
Note
Once you change to your own office number in Leap, you won't be able to send or receive texts from the original toll-free number you started with in Leap.
To get started, you'll need to log in and provide us with some information to get your office number set up for use in Leap.
Click Settings from the menu on the left and select Practice Settings.
Select Practice Information.
Click the Text from Office Number button next to the Text Message Number field.
Follow the prompts and be prepared to provide the following information:
The phone number you want to host
Your practice's legal business name
What type of business your practice is
Your practice's EIN
Your practice's website address
The physical address of your practice
Some information about yourself, including your first and last name, your role at the practice, email address, and best phone number to contact you if we have any questions
Next, you'll receive an email with a Letter of Authorization request:
Regularly check your email for a message from noreply@mail.hellosign.com that includes a Letter of Authorization request. (The subject line will be something similar to "Hosted SMS Letter of Authorization (LOA) – signature requested by Twilio Onboarding Team"):
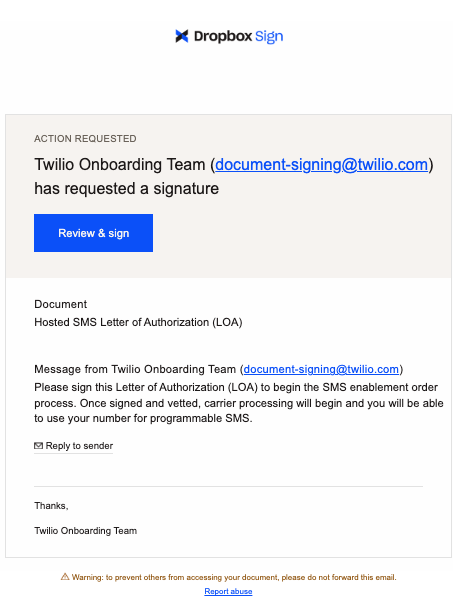
Example of the Email You'll Receive
Review and sign the Letter of Authorization attached in the email:
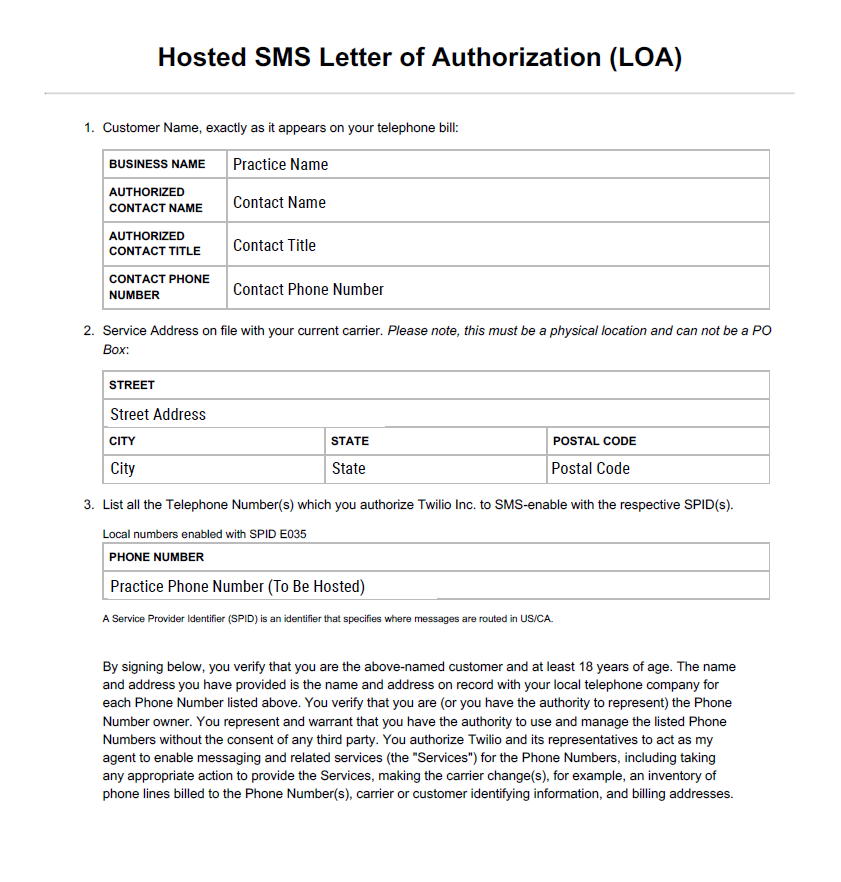
Example of Letter of Authorization You'll Need to Complete
Keep an eye out for communication from us. We'll let you know when your number is ready to use by sending you the email below. Then you can start using your own number for texting! 🎉:
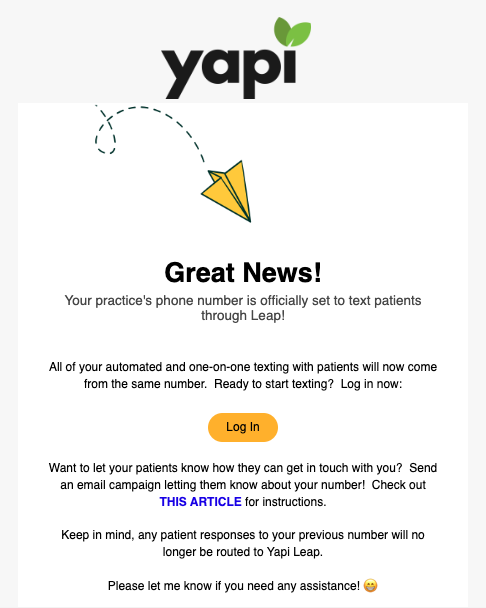
Example of the Email Confirmation You'll Receive Once Your Number Is Ready
Note
If the messaging carrier runs into any problems verifying your information (this isn't common), we may send you a second Letter of Authorization to sign or ask you to provide additional documentation like IRS Form CP-575 so we can confirm your business name and EIN. If we do, we'll follow up with you and let you know where to get it.

Example of IRS Form CP-575
Once you've completed the process of setting up your number, you can use Leap to keep your patients in the loop! We recommend using a Campaign in Leap to reach all your patients via email:
Make sure all your contact information is up to date on the Practice Information page:
In Leap, click Settings, Practice Settings, and select Practice Information.
Review your practice's and make any needed changes.
Click Save.
Select Campaigns from the menu on the left.
Under Create a New Campaign, find the Practice Contact Information template.
Enter a Campaign Name and Subject.
Optional: Scroll down to the Add a custom note to the body of the email box and enter a custom message letting patients know they shouldn't message you at your previous number.
Tip
Don't know what to say? Try this: "Please note: We no longer receive texts to our previous number. We recommend you update this contact information in your phone so you know we'll always get your message."
Click Next.
Under Select Patients List, select Active. This will send the email to all active patients. Then click Next.
Click Send Now.
Click Start Campaign. A message with then display at the bottom of the screen letting you know the campaign was sent. You'll also be directed back to the Campaigns page, where you'll see it listed under Your Campaigns.